Powered by Blogger.

Brigette Danielle


Hey y'all!

Let me just start off by saying this- I am nowhere near a professional and I am not claiming to be one lol. These protective hairstyles are what I use for myself and my girls daily/weekly/monthly. 

Have you ever looked in the mirror and noticed that your hair was drying out? Breaking off? Overly tangled or just not growing? Then keep reading for some of my favorite protective hairstyles.

I have always wanted my girls and me to have healthy thick hair, and boy were we blessed with it. My girls' hair texture ranges widely and given the products used and the outside environment that will have an effect on their hair as well.

Starting with Phoenix, her hair is thick and her strands are thick. Her curl pattern is roughly a 4A/4B. Her hair is long, thick, and gorgeous. She also has a drier than normal scalp and some uneven growth.

Next, we have Thailand. Her hair is also thick but her strands are finer than Phe's. Thai's curl pattern is roughly a 3C/4A. Her hair is mid-length and also thick and gorgeous. She does have extreme uneven growth and a patch of hair that is more coarse than the rest of her hair.

Then we have Italy. Italy's hair is very thick with medium-sized strands. They are thicker than Thai's and finer than Phe's. She also has thick gorgeous hair and it is very long. Her curl pattern is roughly 4B. She also has a drier than normal scalp and drier hair texture.

I personally lean more towards a 3b with thinner strands. My hair also has uneven growth and some dry scalp. For our hair, I start by shampooing and conditioning their hair. Then I gently detangle using my personal favorite, the Tangle Teezer. Then I start by sectioning off a row and dividing them into sections. I then use blue magic to grease their scalp followed by pink lotion to moisturize and Jamaican Black Castor Oil (JBCO) to promote growth.

Now- easy protective styles!

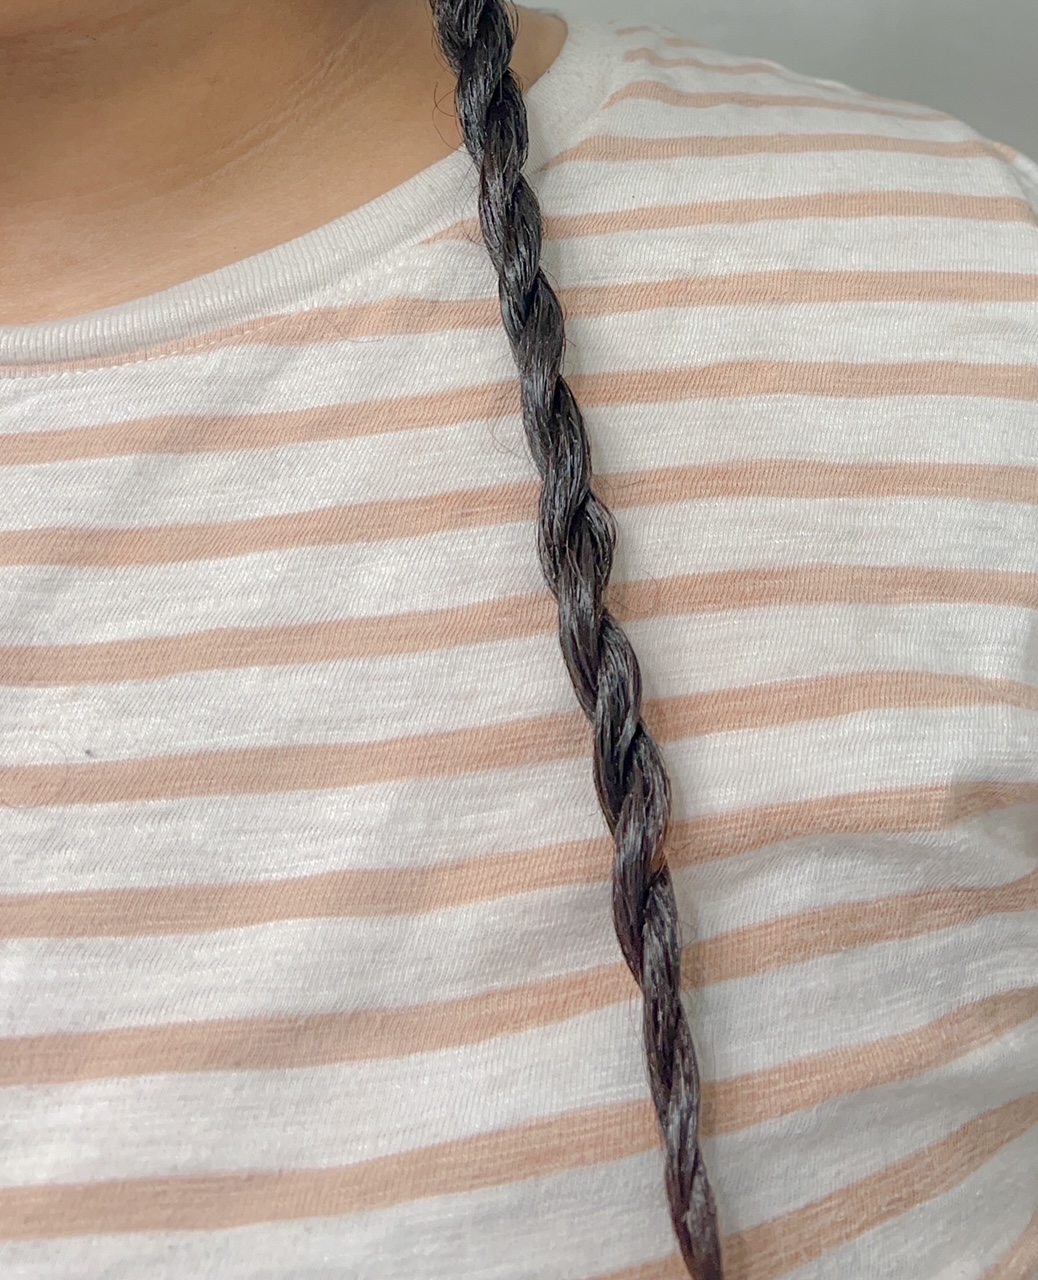
1. Twists- Putting your hair in twists is an easy protective style that lasts days and does not cause a lot of tension around the root. I personally do a two-strand twist but a three-strand twist can also be beneficial.


2. Braids- Cue* a black girl and her braids, a black girl and her braids *. Braids are another easy protective style that can last for a long time. If using braiding hair, be cautious that it is not too tight or causing tension at the scalp.


3. Bantu Knots- One of my favorite styles is Bantu Knots. You can wear them as a protective style while sleeping or as a beautiful style that has low tension. 


4. Cornrows- Cornrows are one of the quickest protective styles. They are versatile and can last weeks. I will do the girls' hair in cornrows from time to time, however, I can't do my own lol. So until I can learn to do my hair in cornrows, I will have to skip this one.


I wish I was this good lol

5. Claw Clips- Throw it back to the 80's and 90's with hair clips. We have so many of these around the house for doing hair lol. Sometimes after I wash and moisturize my hair, I toss it up into a clip and go on about my day.


These easy protective styles are great for hair growth and of course- protecting your edges and reducing damage/split ends. What protective styles do you do? Any that I should incorporate? Let me know in the comments below.


Share
Tweet
Pin
Share
No comments

Hey y'all

Fall nails have arrived to let their light shine! I personally love fall nail colors. They are dark, moody and rich in colors. While it is rare that I get my nails done- I still love the colors and appearance of beautiful nails.

When I was younger and only had to worry about cheerleading and clocking in at Chili's, I would always get my nails done. Honestly I started getting them done around 15. However, now that I have kids, constant chores to do around the house and the fact that doors always seem to find my nails I rarely get them done. Plus, I am horrible at doing my own nails lol. I try my hardest to keep a steady hand and allow time to let them dry and if need be clean them up a tad... but they always look bad lol. So keep that in mind when you look at my nails below.

So, whether you get your nails done or not, these fall nail colors are sure to make anyone swoon.


Starting off this quick list of fall nail colors is one of my favorites.


1. Pure Ice "Scandal"-  This gorgeous color was given to me randomly and I fell in love with it instantly! It is part of the Pure Ice collection which is super affordable and rich in color. For this one since it is fairly deep, you shouldn't need more than two coats. This color has been out of stock at most places but it can be found via Amazon and Mercari.


2. Salon Perfect "Stick to Your Guns"- Another affordable beautiful color is this full grey color. It seems to last FOREVER as I have had this color on my toes for about two weeks and there has been no chipping. I have only had to do a few touch ups due to growth. Stick to Your Guns is a great nail color for fall. Make sure you pick this up on your next trip to the store.


3. Sally Hansen "Leaf Me Alone"- This polish is one of the best greens I have ever found! It is a little more on the pricey end of nail polish coming in a little over $7. However, this is definitely worth the money when you see this beautiful rich green.


4. Sally Hansen "Slick Slate"- If you know me then you know how much I adore mauve and blush tones. Slick Slate is a beautiful mauve color with a hint of grey undertones. I love it so much. Even my husband said it was a classy color lol.


5. Sally Hansen " In Nude-Tral" This nude is great for fall nails. It is very sleek and smooth without looking to chalky. Nudes are a great fall color that is honestly kind of underrated in my opinion.

* Bonus* Another color that is great for fall (honestly all year round) is white. You can do multi color nails with a pop of white for a fun fall look. Or you can keep it simple with a perfect polished set of white nails.

This fall you will definitely see me in these shades- no hesitation! Which one is your favorite? Do you have a go to polish that you love for fall? Let me know in the comments below.


Share
Tweet
Pin
Share
No comments
Hey y'all!
I wish I had some little joke or something like I normally do to kinda break the ice for this post. Unfortunately, this is a serious post so the jokes may be in short supply.
Today I am going to share with you my biracial hair journey and the affects it had on my identity including my hair trauma story.
I just want to say this post has taken me years to write... face... and accept. So I apologize now if it is extremely long, boring or not your cup of tea.
So let's dive in!
If you don't know by now ( which you hopefully do), I am biracial. My mother is white and my father is black. Growing up I only knew my white side. My father was not in my life and I only really have faint memories of his mother whom I called my "black grandma". I was never really around black culture or people (maybe a few) until I went to elementary school. 
And that's where my journey with my identity and hair trauma began.
When I was younger, my hair was long, thick and curly. If we had hair type identifiers back then like we do today.. I honestly would't even know what mine was. I just know I had a lot. I remember thinking I looked like Curly Sue and how it would bounce when I would run. 
All of my early memories of my hair have really disappeared because I experienced hair trauma. For those of you reading, you may not know what hair trauma is so let me explain it the best way I can. Trauma means a deeply distressing or disturbing experience. Hair trauma is when you have an experience dealing with your hair that has caused distress or a disturbing experience. I truly believe those early memories of my childhood were suppressed because of my hair trauma.
THE TRAUMA:
My hair trauma happened when I was very young. Roughly between the ages of 4 and 6. As I mentioned earlier, my hair was very long and thick. One day after my white grandmother washed and curled my hair into ringlets (which she did do often) she proceeded to cut all of it off. My hair went from my lower back to about 2-3". I remember looking in the mirror and feeling confused.. hurt.. sad and many other things. Mostly, I felt lost. I didn't know why she cut it. I didn't know why it didn't look like hers or my moms after she cut it. After my traumatic cut, I remember the name calling. My brother would call me names, people thought I was a boy and little kids would make fun of me as well. The day to day shame I felt really was buried under smiles and attempts at acting like everything was okay. Being so young and traumatized was something that would take decades to fully face.

As I went into Kindergarten with my mini fro, I remember seeing a girl my age (who later became my best friend) who had the most beautiful hair! She would have braids, twists, pony tails, clips... you name it. I was immediately infatuated with her hair. I wanted my hair to look like hers. I would bother her almost every day. Asking her about her hair, touching her hair (I now know that was a big no no lol). She may never know just how much I wanted her hair.
As my elementary years progressed my mini fro slowly began to turn into a mini frollet (fro + mullet). I remember wetting my hair trying to brush my it down into a swoop... I would always end up extremely disappointed as soon as it dried lol. It would never stay the way I wanted it to. My hair was too short for a ponytail so I went through a pretty intense headband phase. I remember I wore one so much that it started to cause sores in the back of my ears. It was the only way I knew how to make my hair look somewhat presentable. My mom would even take me to Fantastic Sams and have my hair thinned out which did absolutely nothing.
that's me in the purple hat

Around 4th grade, my hair finally became long enough to put into a ponytail. My mom attempted my first relaxer but she was so afraid my hair would fall out she pretty much washed it out immediately. So, it did nothing! She then attempted to straighten it with a curling iron. Once again it did nothing. So from there, I upgraded from headbands to ponytails and hats. Since I couldn't wear hats at school, my hair was pulled back with a scrunchy. But any time I left the house.. on the cap went! I felt like a hat could hide my insecurities and frizzy hair. In the 90's, there wasn't YouTube or Facebook. If you wanted to try a new hairstyle, you copied the magazines. So naturally my mom didn't think to look there because you couldn't just pick them up in the stores we went to. Unless it was the grocery store... I would pick up hair magazines and thumb through them as she would shop. Seeing those hairstyles and new products I knew I HAD to get them. The first product my mom bought after my attempted relaxer was Pink Lotion. My hair was soft, more manageable and it seemed to be on the right track. All of that confidence came to a screeching halt during spirit week that year. I wore my favorite hat to school on hat day... my hair was in a pony tail and I felt good. However, that day we had a substitute that we all knew. She was an older black lady who was never shy to tell us how she felt. For the most part, we all enjoyed having her in our class. I remember it was after lunch and we were listening to her read the class book aloud when all of a sudden she stopped, looked up at me and said " your mom needs to do something with your hair" in front of the whole class. Of course being immature 4th graders they all burst out laughing uncontrollably. I couldn't hold the tears any more so they just began to fall. I never felt like the kids were in the wrong.. they were kids. However it did take me a very long time to forgive and get over the treatment of that teacher. After all she did humiliate me in front of my peers. I figured she would have seen my struggle and offered to help as opposed to scrutinize. 
After that, all the trauma from my haircut began to trickle back into my day to day.
When I reached middle school my hair was much longer. Frizzy. But longer. I began to experiment with my hair. I tried to mimic my Hispanic friends hairstyles since I couldn't braid. That didn't work. I tried wearing my hair like my cousins.. that didn't work. I was back to square one with trying to figure out what to do with my hair. After 6th grade pictures came out, my mom had no choice but to reach out for help. I finally was going to a salon where they knew how to do my hair. After what seemed like all day, I left looking and feeling like a new person! My hair was straight! I mean as straight as a board. It was bumped and swooped and pressed to no end. I felt like Aaliyah when I got up from that chair! 
The next day, was photo retake day. Still not sure what to do with my new hair, I once again mimicked my Hispanic friends hair.. my hair went from snatched to... ummm what in the world?! Throughout middle school I still struggled to do my hair. I didn't have the right tools to straighten it and I didn't really have enough knowledge on products to keep it styled. Thankfully I made more best friends that would help me a long. One would braid my hair and give me little tips on wrapping my hair. 
after my first perm
trying to find hairstyles I could do

Even though my progress with my hair was improving, my confidence was still shaken. Could I pull these off? Do I look good with braids? Even as I moved into high school I struggled with my hair. I would wash it too often, dye it to harshly and apply too much heat. I didn't know how to properly nourish my hair and I was stripping it of all it's nutrients when I would use products that were meant for white/thin hair. My hair had become so damaged that it began to break off. Around 11th grade my hair had broken so much, it went from the middle of my back to right above my shoulders. 
After that whole journey with my hair, I slowly began to find my identity in this world. I knew I was mixed but because I didn't KNOW my whole makeup, I struggled. All I knew was my white side. Yes, most of my friends were black.. but not having that connection at a young age on top of my hair trauma made it a challenge. 
me and one of my closest guy friends from HS
HS struggling to wear it natural. All my hair broke off from dying it.
Around 10th grade I decided I wanted to go to an HBCU. I wanted to fully immerse my self in black culture 24/7. I made the effort to go to the local Juneteenth celebration each year, the Black Expos and watch as many black films (age appropriate of course) as I could. I needed to explore the other side of me that made me me.
Experiencing a hair trauma at such a young age really gave me the push I needed to connect with my blackness. Not knowing why or how my hair was so different only made me want to learn more. As an adult, I now have full confidence in my hair. I can rock a bob, long styles, dyed, up do's, braids, my natural curls or a blow out. My hair journey was a long and tough process that has caused many insecurities throughout my life. I can honestly say that this trauma helped shape me into the woman I am today.
So... now that we have made it to the end, thank you for reading my story. Thank you for taking the time to understand what I went through. I hope you can understand that there is such a thing as a hair trauma, especially for young black girls.
Have you ever experienced anything traumatic as a child? Have you been able to overcome it? What did you do? Let me know in the comments below.
Check out my YouTube video where I open up even more.


before my hair started to grow.


Share
Tweet
Pin
Share
2 comments


Hey y'all!

Summer skin care products are essential as the summer sun starts to boil us all into a sweaty mess lol. Our skin, sensitive or not, must constantly be taken care of. Cleansing, moisturizing, detoxing... you name it.

Growing up, I didn't really struggle with acne. However, my skin was very uneven, overly sensitive and oily. As I have gotten older, I did begin to have more breakouts (acne & irritation) because I piled more makeup on daily lol. Thankfully, I have found great products that help me combat it and leave my skin cleansed and hydrated.

So, I decided to compile this list to share my favorite summer skin care products that will leave your skin refreshed as it starts to get hotter and we get sweatier.

There are tons of skin care products out there that are great for our skin but not necessarily for our skin in summer time. Summer skin care products should be light yet nourishing. Who wants to be sweaty and oily during the hot summer months? I know I don't.

I personally have combination skin as well as sensitive skin, so finding products that work and benefit my skin can be a challenge. Especially in the harsher months like winter and summer.

So, before you head out and stock up on your summer skin care essentials, take a look at some of my favorites and give them a try for yourself.

Also, if you are looking for more resources on clean and natural products for your skin, check out the Clean Beauty Gals blog for listicles full of awesome products and tips!


1. Garnier Micellar Water- This one is always on my list. This micellar water is cleanses, hydrates and is great for all skin types. I personally use this daily as well as my 12 year old daughter. It helps with her acne caused by her monthly cycle and the changes she is currently going through. I love the Garnier Micellar Water because it is inexpensive and perfect for summer.


2. Garnier Rose Water Mist- Like I said previously, rose water is one of my faves and this particular one is my go to. When ever my skin gets irritated from makeup, I grab my rose water spray and apply it all over my face. The redness and irritation subsides almost instantly. This rose water is great for summer because it is a mist so application is very quick and easy plus it dries quickly as well.


3. Thayers Witch Hazel Rose Petal- This witch hazel is the perfect toner for all skin types, especially if you struggle with acne or scarring. With hazel is gentle on skin alone, but with the added rose petal extract... it soothes even more. Rose water is one of my FAVORITE things when it comes to skin care.


4. Evian Mineral Spray- I keep a small bottle in my purse all summer long lol. This mineral spray is great for moisturizing, cleansing and more. Whenever it is hot outside and I get overly sticky or sweaty, I grab my Evian Mineral Spray. I always feel instantly refreshed.


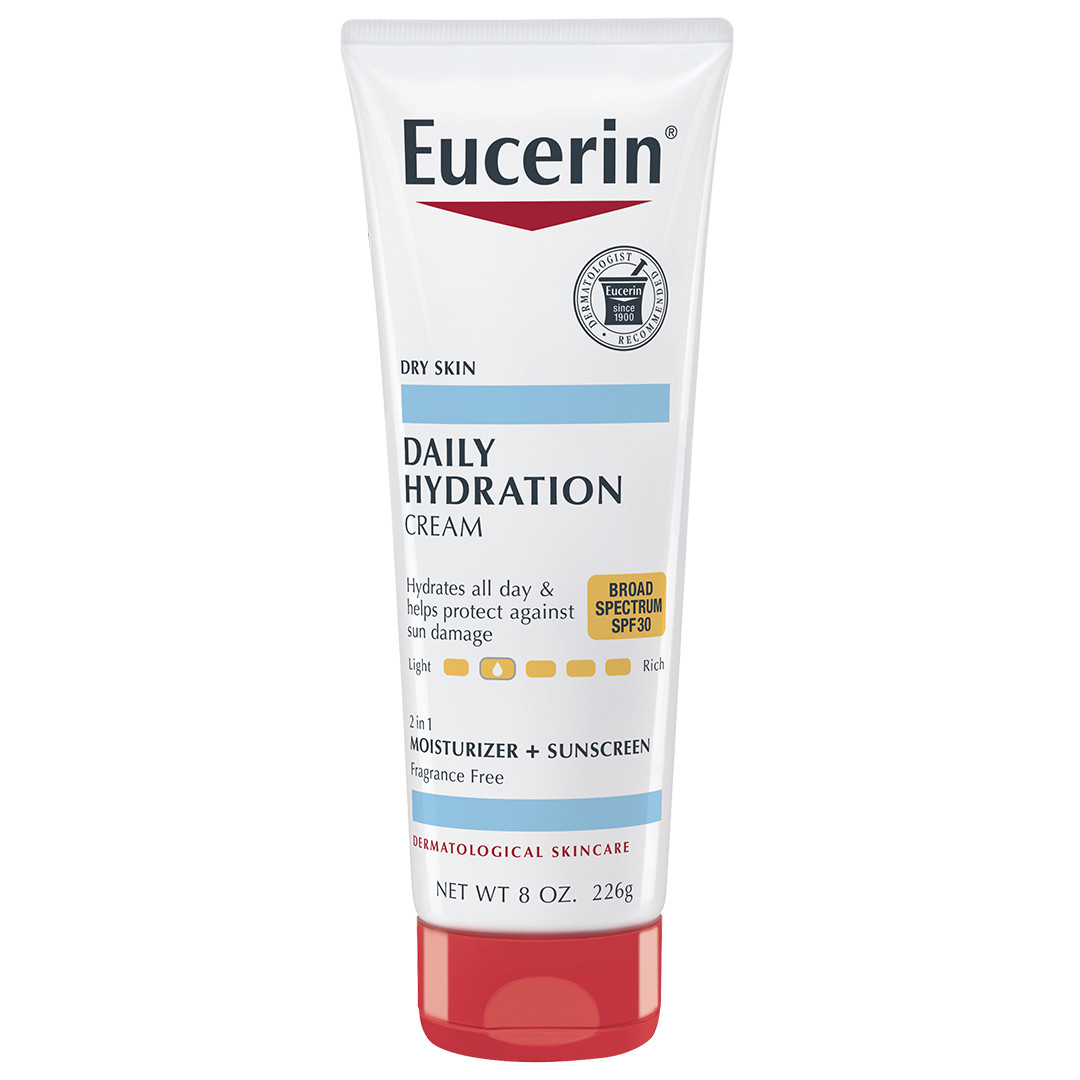
5. Eucerin Daily Hydration Cream- Eucerin is one of my favorite brands when it comes to creams and lotions. A lot of their products are great for the areas on my skin that get really dry, Their daily hydration cream has SPF 30 so it protects against harmful uv rays and sunburns. Plus, it is light weight and not over oily which makes it great for most (if not all) skin types.

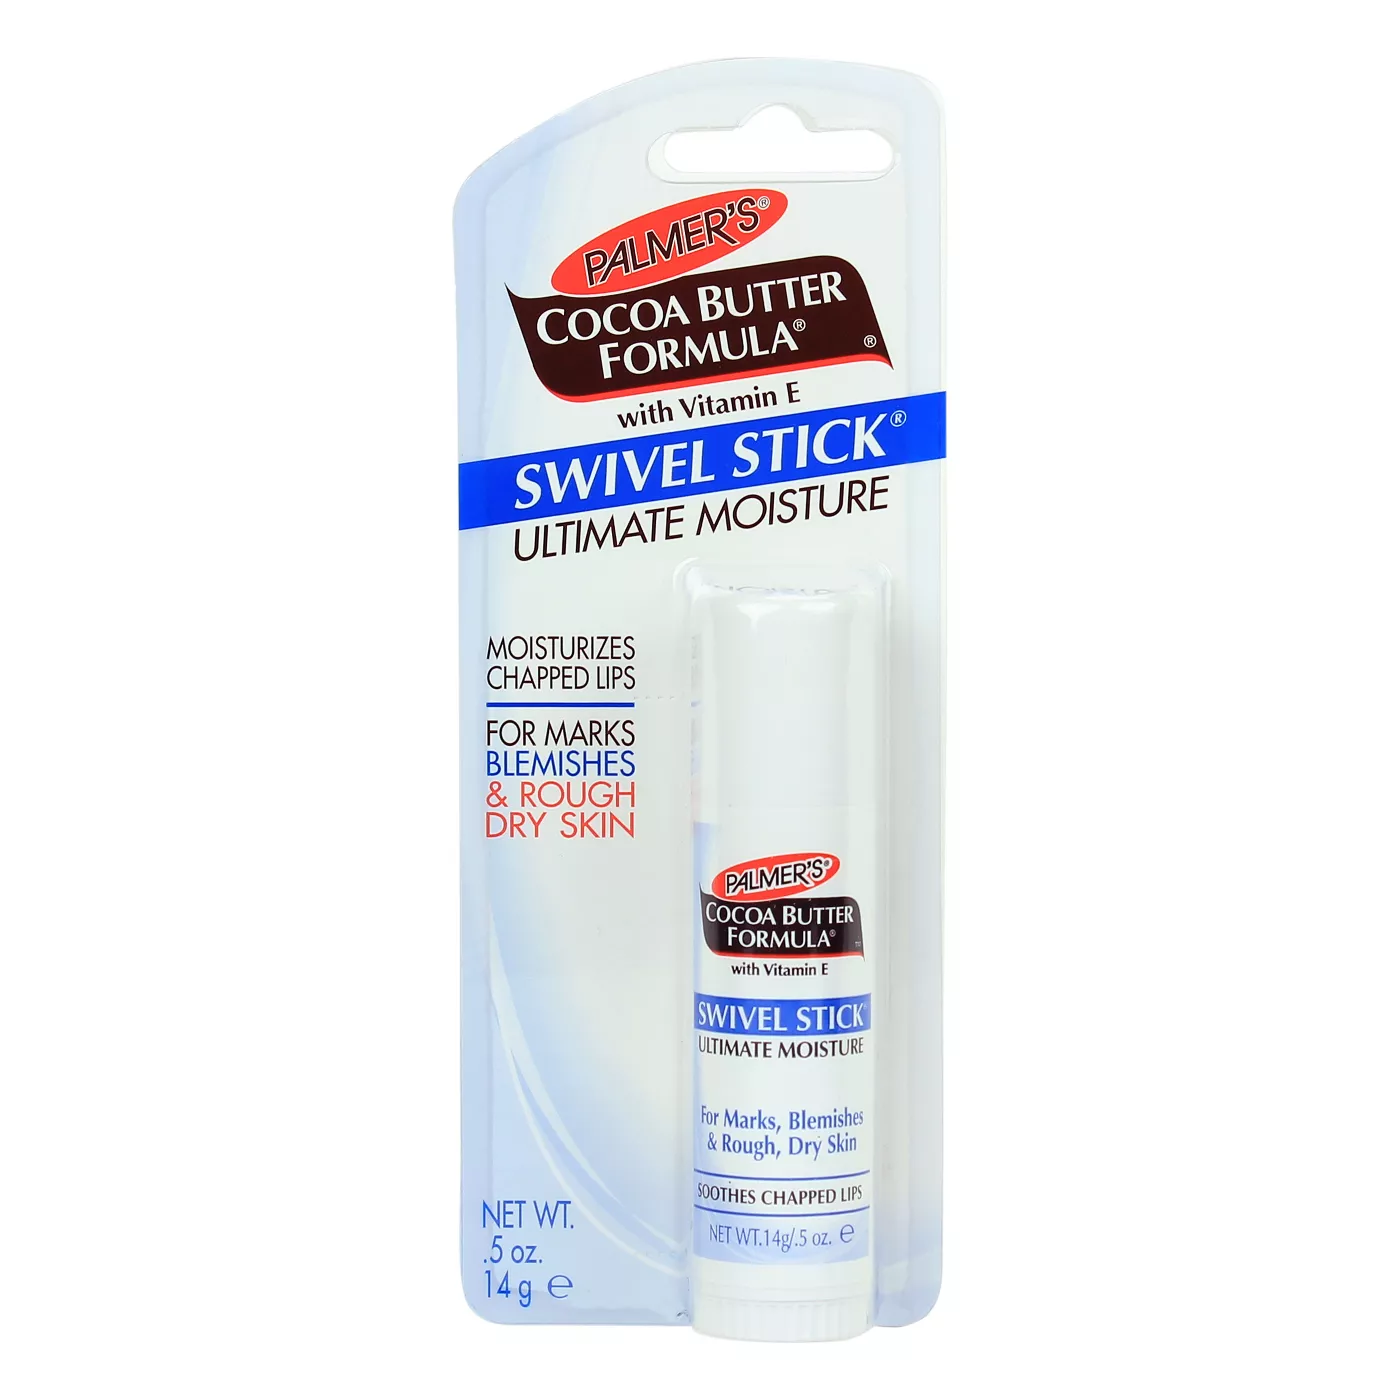
Palmer's Swivel Stick Lip Moisturizer - Cocoa Butter Formula - 0.5oz - image 1 of 6

6. Palmer's Cocoa Butter (stick)- Cocoa butter is the OG skin care product. It heals scars, nourishes skin, helps with sun burns, evens skin tones and more. I use this in the evening to help with my minimal scarring and discoloration. Cocoa butter is pretty heavy so I would not suggest using it during the hot summer days. But at night, when you are cool and getting ready for bed... cake your face with Palmer's cocoa butter for beautiful skin!

Like I said before there are so many products that are great for your skin during the hot summer  months. These are my essentials that help me keep my sensitive/ combination skin in check!

What summer skin care products do you use when it gets hotter? Have you used any of these? Let me know in the comments below!
Share
Tweet
Pin
Share
No comments


Hey y'all!

Have you ever wondered "how can I make hair gel?" or " how can I make natural hair products?"? Then look no further! I have found the best recipe for the best, natural hair gel.. EVER!

Growing up, I always struggled with my hair. I didn't know what to put in it, how to style it or really anything. But as I got older, the internet became more and more relevant for finding out information. Yes.. I'm that old! After many trial and errors, I found products I loved and products that treated my hair accordingly.

However.

Now that I have 3 girls with  a ton of hair, hair products leave this house as quickly as they come in! So, once again I was determined to use the good ol' internet to find ways that I could keep all of our hair healthy and maintained without going broke!

Thankfully, I found this...


Now....the REAL reason you clicked this post/pin/link!

 You want to know just what is the best natural hair gel EVER! No I am not overselling this or trying to set you up for failure. I truly love, love, LOVE this hair gel. I love this diy hair gel for a few reasons but to keep this short, sweet and to the point, I will give you my top 2!

#1. It's easy! Making this natural hair gel is probably easier than buttering toast. I'm what you would call a "Wannabe -I -Yer". I love making things and being creative but my hands just can't always execute lol. This DIY however is easy enough that even I can do it. I was even actually able to teach my 12 and 10 year old how to do it!

#2. IT'S STUPID CHEAP! This natural hair gel costs less than a latte and can last for what seems like months. Between my girls and I, I make about 1 batch that will last roughly a week and a half. And we have a ton of hair! I forget the actual break down of the gel once it's made but I know it costs less than a dollar a batch.


So, now you know two reasons why I love this diy natural hair gel! Now, let's get you set to make your own!

You only need two ingredients for this hair gel but essential oils are optional and can be added as well!


For this diy hair gel, you will need :
Whole flax Seed
Water 
Pot
Measuring cups/spoon
Container
Small hole strainer/pantyhose


Now, to make the gel! 

Start by boiling 2 cups of water and 2 tablespoons of whole flax seed. Make sure you watch and stir the mixture frequently to avoid burning and over cooking. The water and seed mixture will start to create a gel like consistency. The longer you cook the seeds, the thicker the gel. I would recommend boiling the seeds from about 4-6 minutes.


Next,
once your mixture is close to the consistency that you want (not to runny/ not to thick), let cool and simply strain the liquid using the pantyhose or strainer into your container. I would recommend waiting about 3-5 minutes to make sure it has cooled down some so you don't risk getting burned if any gets on you!

I misplaced my mini strainer and I didn't have any pantyhose on hand.. SO I improvised! PS this French Press works just us well!


Finally, let the gel cool completely and use as you wish!

PRO TIP - Make sure your gel is refrigerated after every use! If left out, it will spoil and trust me, that is the last thing you want in your hair!


Before (no gel)

After (with gel)


Share
Tweet
Pin
Share
No comments
Older Posts

About me

About Me

Welcome to By Brigette Danielle!

I'm a full time Texas mom of 4, wife, homeschooler and coffee lover. This blog is dedicated to sharing family topics, beauty, plus size style, mom hacks and more. Welcome to my little world, I'm glad you came to visit.


Follow Me!

  • Facebook
  • Twitter
  • Instagram
  • Pinterest
  • Bloglovin
  • Youtube

Categories

Beauty family health style

recent posts

Blog Archive

  • ▼  2023 (1)
    • ▼  March (1)
      • How to Have A Great Summer Break with Kids For Free
  • ►  2022 (2)
    • ►  May (1)
    • ►  January (1)
  • ►  2021 (9)
    • ►  December (1)
    • ►  November (1)
    • ►  October (1)
    • ►  September (1)
    • ►  July (1)
    • ►  June (1)
    • ►  March (1)
    • ►  February (1)
    • ►  January (1)
  • ►  2020 (15)
    • ►  November (1)
    • ►  September (2)
    • ►  July (1)
    • ►  June (2)
    • ►  May (1)
    • ►  April (3)
    • ►  March (4)
    • ►  January (1)
  • ►  2019 (17)
    • ►  December (1)
    • ►  November (1)
    • ►  September (2)
    • ►  August (2)
    • ►  July (2)
    • ►  June (2)
    • ►  May (1)
    • ►  April (3)
    • ►  March (2)
    • ►  February (1)
  • ►  2018 (23)
    • ►  November (1)
    • ►  October (2)
    • ►  September (1)
    • ►  July (2)
    • ►  June (1)
    • ►  May (1)
    • ►  April (4)
    • ►  March (6)
    • ►  February (2)
    • ►  January (3)
  • ►  2017 (86)
    • ►  December (4)
    • ►  November (2)
    • ►  October (3)
    • ►  September (5)
    • ►  August (8)
    • ►  July (25)
    • ►  June (13)
    • ►  May (6)
    • ►  April (7)
    • ►  March (2)
    • ►  February (6)
    • ►  January (5)
  • ►  2016 (80)
    • ►  December (4)
    • ►  November (7)
    • ►  October (5)
    • ►  September (7)
    • ►  August (5)
    • ►  July (4)
    • ►  June (5)
    • ►  May (7)
    • ►  April (13)
    • ►  March (6)
    • ►  February (17)
  • ►  2013 (2)
    • ►  January (2)

Featured Post

Welcome!

Welcome, welcome, welcome!  First off I just want to say that I am very excited to share my personal thoughts, experience...

BMB

Blog Meets Brand

clever

Collective Edge

social fabric

FOLLOW ME @ByBrigetteDanielle

Created with by ThemeXpose